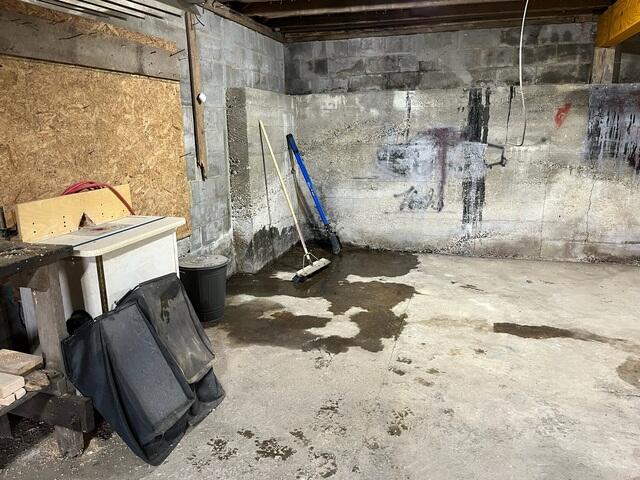
Wet Basement
Here you can see the evidence that this basement needed a waterproofing job.
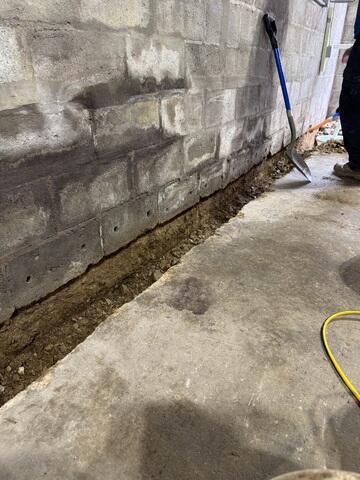
Weeping Holes
We start the waterproofing process by digging trenches in the floor around the basements perimeter. We then drill weeping holes to invite outside water into the trenches.
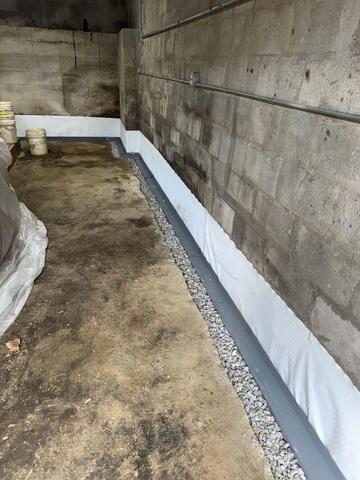
Subfloor Drainage Installation
We then fit our WaterGuard drainage system into the trenches and backfill them with gravel. The gravel acts as a natural filter for dirty water, and will help us install concrete back over the trench.
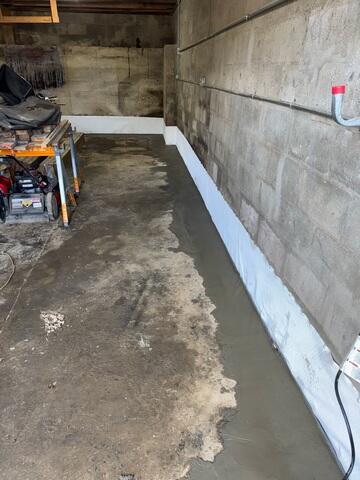
Complete Drainage System
We installed concrete back over the trenches to keep our system concealed under the floor.
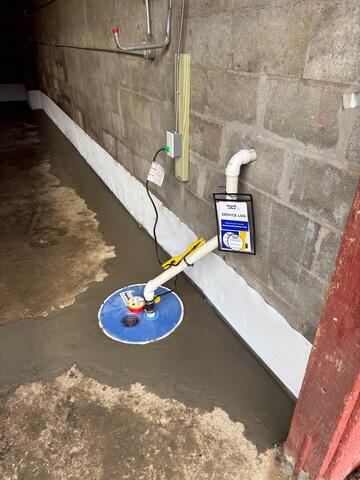
Sump Pump System
Our SuperSump seen here can discharge 2,280 gallons of water an hour. It also comes with an alarm system in case any power failures occur. It also has an air-tight lid to keep moisture down in the trenches under the floor.